
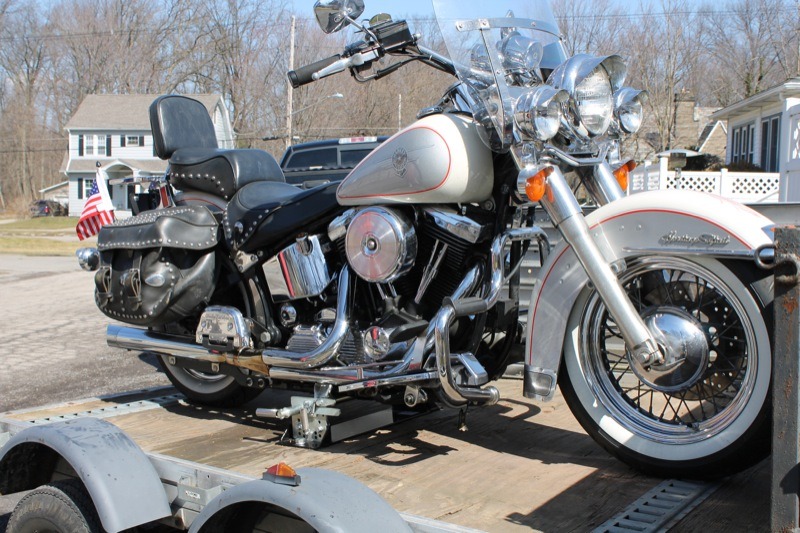
For starters, we’re going to stay away from the age-old question of, “Why is your bike on a trailer?” That’s nobody’s business but yours. If you do find yourself hauling your Harley from time to time, whatever the reason, the Biker Bar may be just the accessory for you. Think of it as a docking station for your Harley and your trailer.
Made in Humboldt, Kansas, in the heartland of the good ol’ U.S. of A. by people who have been in the trailering industry over 25 years, the Biker Bar system is high on quality and heft. My Biker Bar was well-packed and complete, and includes four pieces: a base plate that mounts to your trailer floor with two anchor plates and an adjustable clamp bar that mounts to your bikes frame. When installed, the system eliminates the need for tie-down straps, wheel chocks and other securing devices. You simply ride your bike into the Biker Bar and walk away.

The Biker Bar works with all Harley-Davidson motorcycles with factory-painted frames. On the company’s website you will be asked to specify which model group your bike belongs to before ordering. My application was a ’95 Softail.
To begin, attach the adjustable clamp bar to your bike’s lower frame. On my Softail, that was just beneath the tranny. The instructions thoughtfully remind you to watch out for brake lines. You can tighten the clamp without fear of marring your paint, as the jaws are lined with neoprene.
Next, load your bike on the trailer and determine exactly where you want it to sit for hauling. Slide the base plate under your bike and adjust the side plate height of the base plate. You’re going to want help to do this, as the bike needs the weight of the rider to achieve the proper base plate height setting. The compressed suspension will eventually provide the resistance that holds your bike rock steady for hauling. The side plates are adjustable in 1/4″ increments to achieve the desired height, which will be about 1/8″ less than the height from the trailer deck to the bottom of the clamp bar, measured at the center of the bar. To call this step tricky would be a gross exaggeration, but it is the trickiest step of an easy procedure.

Now you’re ready to drill holes in the trailer deck for the anchor bolts. The anchor plates, which go under the trailer, have two 3/8″ holes each, convenient for holding the plates in position with bolts while you thread in the larger anchor bolts from above. They also allow for the removal of the base plate without the need to remove the anchor plates, giving you easy installation for the future and keeping the versatility of your trailer.
Next you’re ready to load your bike. Just ride it slowly into the base plate and it will lock into place with a click. You’re ready to roll. For curiosity’s sake, I rode in the trailer to observe how the bike hauled. It was rock steady. Unless the floor pulls out of your trailer, your bike isn’t going anywhere once loaded into the Biker Bar.
Removing your bike is as simple as releasing the levers on either side of the anchor plate with your feet, backing out of the trailer and removing the clamp bar. You’re ready to ride, or push into the service bay or bike show of your choice.
B&W Trailer Hitches
$380 – Includes shipping within the U.S.
www.turnoverball.com
800.248.6564


Hi do you make one for victory motorcycle if so i would like to buy one thank you
Hi, I purchased two of these one for a heritage and one for a touring model they are absolutely perfect easy to install and even easier to use. It’s so nice to load up and go without having to get out straps and chocks. Due to health I find the bikes on the trailer more often since I can only ride a few hundred miles a day. Thanks Tom C Manchester TN