
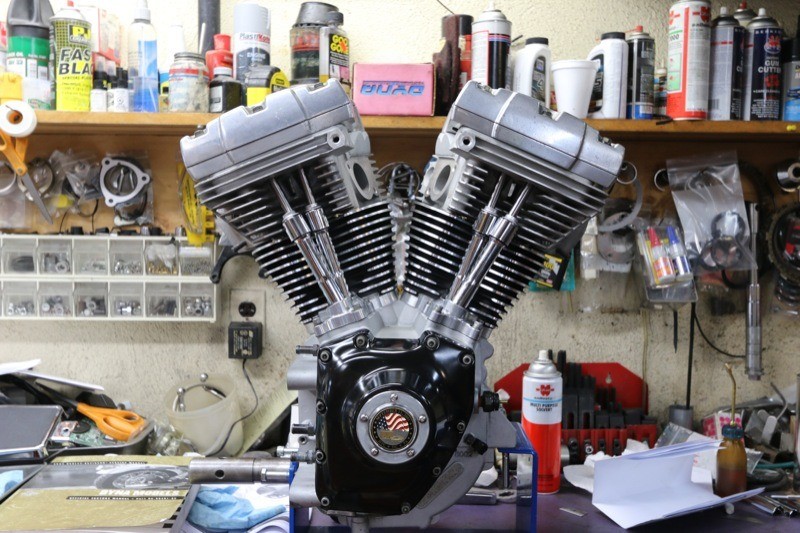
In the February 2014 issue of THUNDER PRESS, I described the bottom end installation of my 2000 FXD. Once the S&S Three-Piece Flywheel Assembly, S&S EasyStart Gear-Drive Cams and S&S Premium High Performance Tappets had been installed, it was time to continue the motor rebuild by installing the top-end components.
Since the flywheel assembly had 4-3/8″ stroke, we installed cylinders to match, choosing the S&S Cylinder Kit which included a set of S&S cylinders, S&S flat-top piston set with rings, and a top-end gasket kit. One advantage of ordering the kit over acquiring the parts separately is that the pistons are fitted to the cylinders, requiring no boring or honing. And the valve pockets set into the S&S pistons are enlarged to accommodate oversize valves and the higher-lift S&S 551 cams that we’d previously installed.
The S&S cylinders were redesigned about two years ago, and this current iteration features 11 full-circumference fins for greater heat dissipation than the 10 OEM-style fins. S&S states that the cylinders have the largest bore that can be safely used in a cylinder with stock “spigot” diameter (the cases do not need to be bored for the install). The cylinder liner material is much stronger than what’s used in OEM cylinders, and have been proven to withstand the mechanical stress and heat caused by hard riding, including drag racing and burnouts if one were so inclined. Cylinders are offered in powder coated wrinkle black or powder coated silver finishes that perfectly match the finish of the rest of your stock engine.
The bottom end of the motor was sitting on the workbench at Black Hills Custom Parts in Rockaway, New Jersey, where the rebuild project was being done. S&S provides step-by-step directions for the piston ring and cylinder head installation in the installation instructions that came with the Big Bore kit, and the Harley-Davidson Service Manual provides a lot of top-end assembly detail as well. What follows here is just a summary of the top-end install for this project.
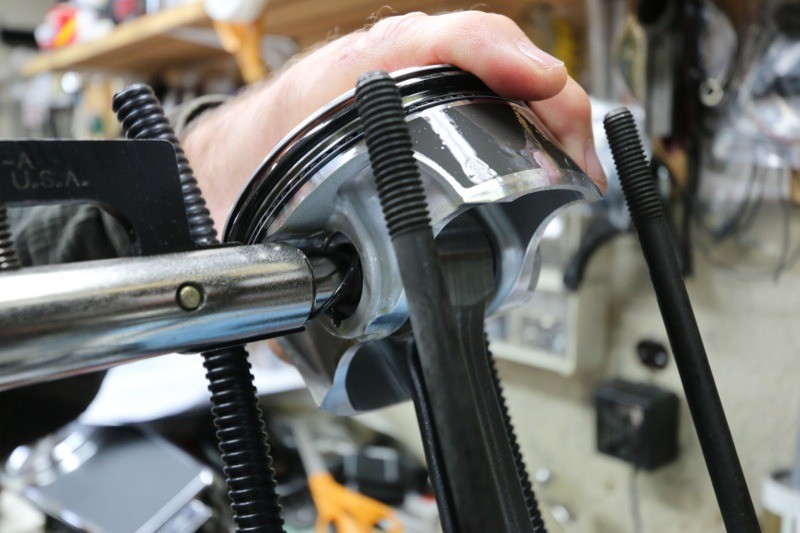
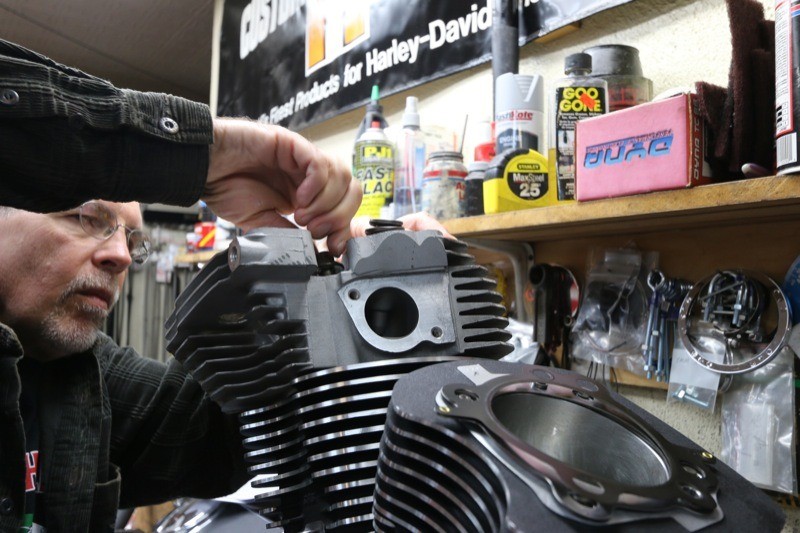
To start, Black Hills Custom Parts owner Ken Puzio slid some rubber tubing over the case studs so the studs didn’t scratch the pistons. Ken also gapped the rings to match each cylinder and marked the matched sets. He then used a ring install tool and the K-D Piston Ring Compressor Tool to be able to slip the cylinders over the new pistons and rings.
Before placing the pistons onto the connecting rods, Ken had stuffed clean rags into the cylinder bores in the crankcase so that nothing (i.e., the piston circlips) would fall into the case during the install. Ken lubricated the pistons and rings liberally with motor oil. Then a Harley tool was used to insert the circlip that holds the wristpin in the piston. Ken placed one of the pistons onto the connecting rod and slid the wrist pin through. These steps were repeated with the other piston. Note that the pistons are the same for both the front and rear cylinders, but each piston is marked with an arrow pointing toward the front of the engine for the installation. The pistons must be positioned properly because they have offset wrist pins—otherwise, you may experience excessive engine noise.
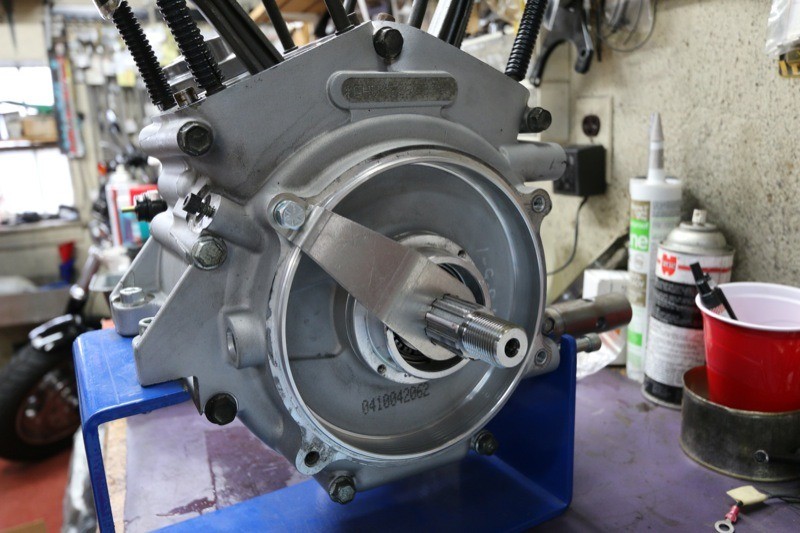
Ken used the S&S Flywheel Anti-Rotation Tool to immobilize the flywheel to prevent rotation for each piston install, and he removed the rubber tubing from the cylinder studs. He kept the ring compressor tool on while slipping each cylinder over the piston, removing the tool to finish sliding the cylinder all the way down. Ken removed the anti-rotation tool and turned the crankshaft to move the pistons up and down to make sure the movement was smooth, and to insure that the rings were installed properly.
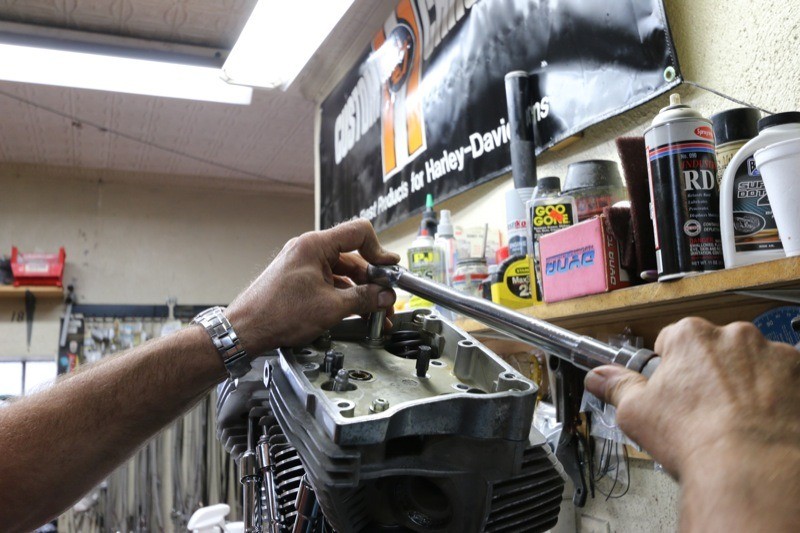
The S&S-supplied multilayer metal Cometic head gaskets were placed over the cylinders. Ken put oil inside the head bolts and let the oil drain out. Oiling the treads of the head bolts ensures that they will provide the correct pressure on the head gaskets at the specified torque.
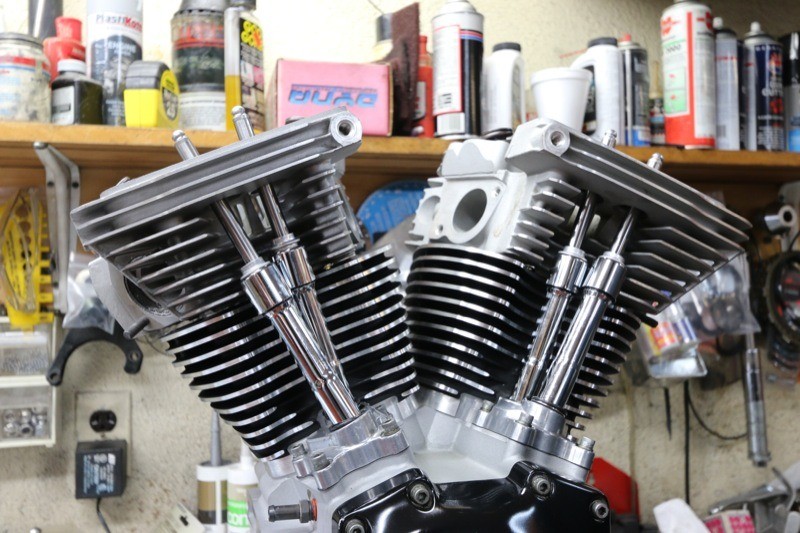
We decided to use the Dyna’s stock cylinder heads but we did need new valve springs to accommodate the high-lift S&S cams. Fortunately, S&S had just come out with their brand-new 0.585″ Street Performance Valve Springs, which fit the bill perfectly.
Ken had already cleaned up the stock heads and sent them to a local machine shop to be set up for the higher-lift cams and new, slightly higher conical valve springs. I was able to reuse my valves, and they were also sent to the shop for a valve job, along with the valve springs as well as the special valve spring installation instructions, which would be needed to install them in the heads. The reworked heads arrived from the shop with the valves and springs already installed, simplifying installation process for Ken. He placed the S&S-supplied exhaust gaskets into the exhaust ports in the heads, and placed the heads on the cylinders, torquing the head bolts to spec.
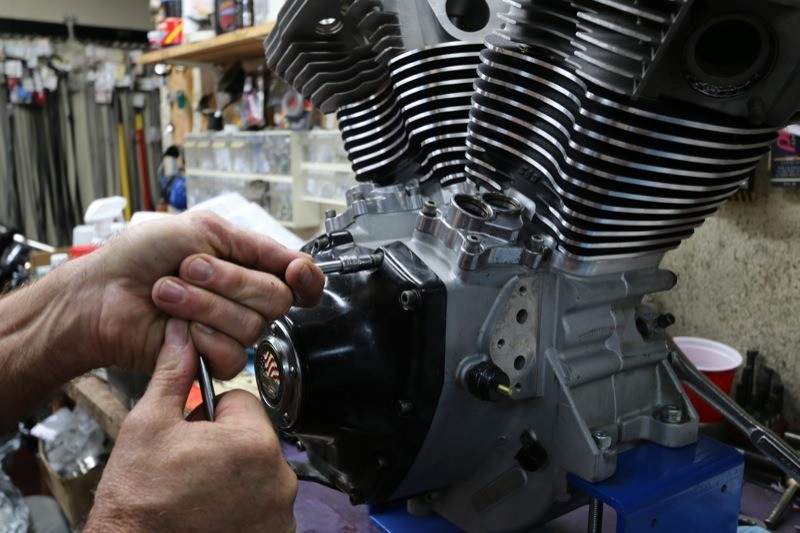
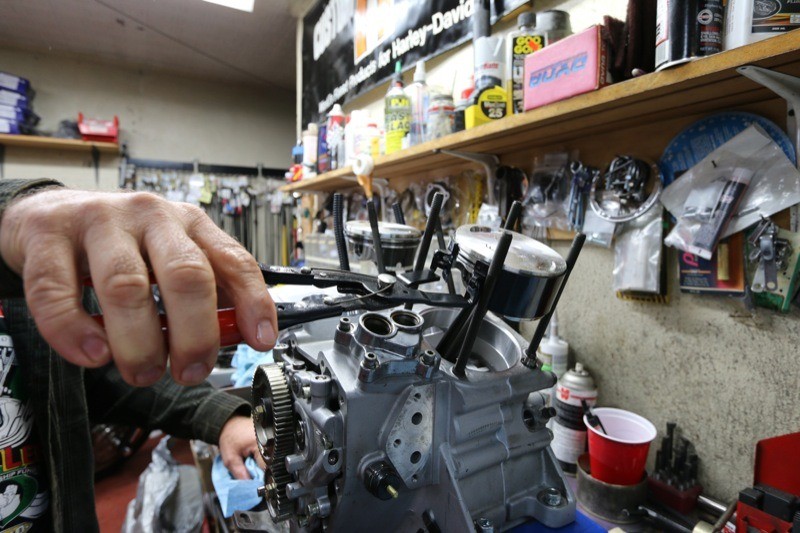
The Black Hills Custom Parts crew had also cleaned up the stock cam cover, scraping off the old gaskets and goo. The inside of the cam cover already had clearance for the cam drive gears from when Ken did the Dyna’s 95″ upgrade several years ago. However, if you are installing gear-drive cams for the first time, you will need to push the cover against the cam gear, and if it leaves a mark, you will need to create more clearance so the gear doesn’t scrape the cover.
Ken bolted on the cam cover and installed the four pushrods contained in the S&S Quickee Pushrod and Cover Kit (the lifters had already been dropped in). We reused my stock pushrod cover spring and top collar, as well as the pushrod blocks (retainers). S&S Quickee pushrods can be adjusted or removed and installed without pulling the rocker covers and rocker arms.
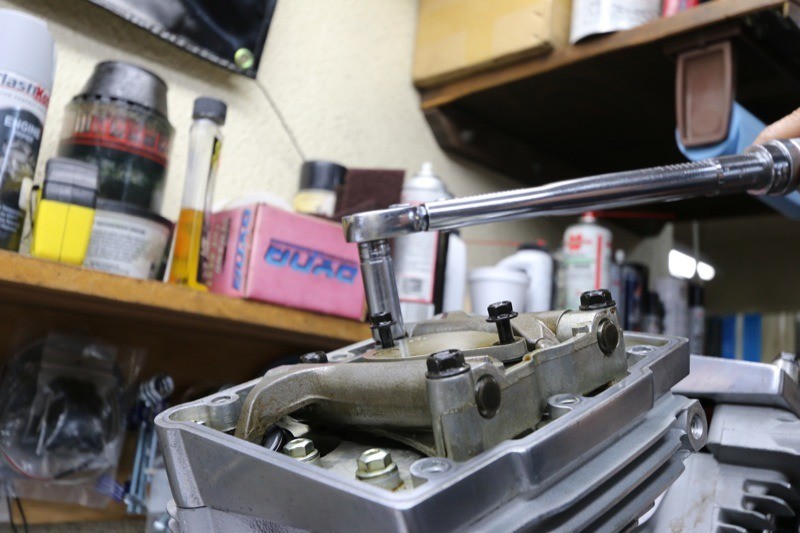
After a thorough cleanup of every rocker box component, the rocker box gaskets and various O-rings were put into place, and we were able to reuse all the bolts from the rocker boxes, tightening the bolts according to the documented torque specs. Ken used JIMS Evo Tappet Block Alignment Tools to center the rocker boxes, which will prevent movement that could allow the pushrods to rub the sides of the rocker box bolt holes, and thereby preventing pushrod cover leaks and excessive valve train chatter. After removing the alignment tools, Ken installed the rocker arms, rocker box gaskets and rocker box covers; again, snugging everything to spec. Then the motor was set into the frame of the FXD and the motor mounts checked for wear, re-installed and tightened according to spec.
Anticipating a hotter-running motor, we installed a Harley-Davidson oil cooler that we found on eBay (thanks to Paul from the parts department at Tramontin H-D for helping with the search). Then a new oil filter was screwed into the mount incorporated within the body of the oil cooler.
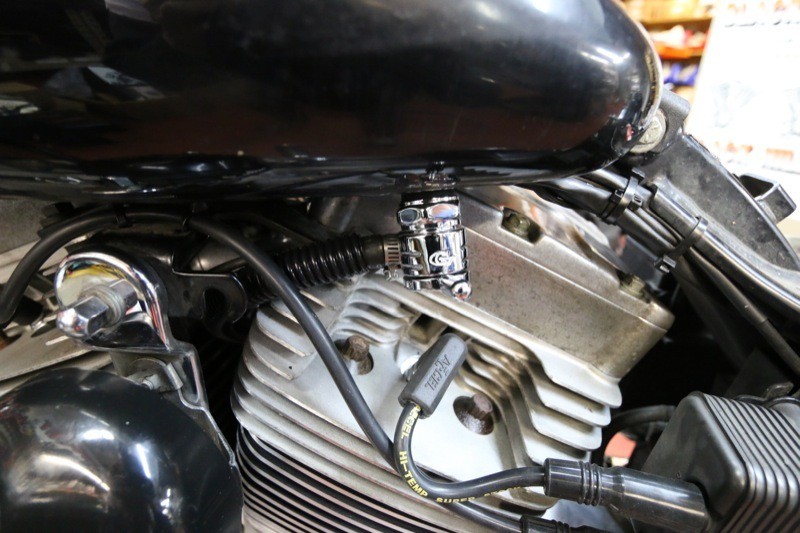
Ken had installed a Daytona Twin Tec single-fire ignition as part of the Dyna’s 95″ upgrade. The programmable ignition would be tuned for the new engine configuration once we got my FXD on Ken’s dynamometer. In keeping with the “now’s the time to replace everything that could cause a problem” credo, we replaced the spark plugs and the ignition wires, which were both showing a lot of wear.
We selected the ACCEL Custom Fit 8mm Silicon Wire Set for H-D because of their superiority to the stock wires. The ACCEL wires feature a thick 8mm silicone jacket and silicone insulation intended to eliminate electrical leakage (or for fuel-injected bikes, prevent RFI interference) that interrupt electronic ignitions, and the manufacturer claims that these elements allow delivery of up to five times more energy to the spark plug. The plugs also handle high heat extremely well, with the ability to withstand temperatures over 500 degrees.

Ken also suggested that we replace the OEM petcock with one that would allow for higher fuel flow, so we chose the Golan Products Click-Slick Forward Facing 22mm Petcock. The Golan petcock uses stainless steel ball bearings and components for ease of lever motion, and features detents for sure positioning. The reserve level can also be altered by shortening or removing the reserve pickup tube, and if you have a large or radical custom tank, a long petcock is available as well. The product is made in the U.S., and has a limited lifetime warranty. The Golan Products website states, “If this petcock fails to perform by leaking, sticking, or not shutting off completely every time… we will fix it free of charge forever.”
(Next we’ll continue the FXD makeover with the installation of a new S&S carburetor, air cleaner and air cleaner cover. See you then.)
- S&S Cylinder Kit, 106″, 3.927″ Bore, 4-3/8″ Stroke BT #910-0206: $789.95
- S&S Quickee Pushrod and Cover Kit #106-6051: $224.95
- S&S 0.585″ Street Performance Valve Springs #900-0593: $109.95
- Golan Products Click-Slick Forward Facing 22mm Petcock #0705-0021: $111.95
- ACCEL Black Custom Fit 8mm Silicone Wire Set for H-D #171097-K: $29.95
S&S Cycle
sscycle.com
Golan Products
golanproducts.com
dragspecialties.com
ACCEL
accel-motorcycle.com
dragspecialties.com
**CLICK HERE FOR PART 1 of the 2000 FXD ENGINE REBUILD WITH S&S CYCLE
***CLICK HERE FOR PART 2 of the 2000 FXD ENGINE REBUILD WITH S&S CYCLE


