
**The following is the second of six installments on North Editor Shadow’s 2000 Harley-Davidson FXD engine rebuild project with S&S Cycle and Black Hills Custom Parts. Check back for a new installment each week.
In the last installment of the project, I described how the bottom end of my 2000 FXD got trashed, my goals for the rebuild, the S&S parts I selected and the reasons why they were chosen. Once all the parts arrived at Black Hills Custom Parts in Rockaway, New Jersey, the rebuild project crew—owner Ken Puzio and tech Ken Bohn—began the rebuild project at the logical starting point—the bottom end of the motor.
With the release of their new Three-Piece Flywheel Assembly, S&S has set out to improve upon the flywheel assembly with all-new connecting rods, a larger crankpin, and superior 4140 materials that are not only harder, but are also 114 percent stronger than stock (and better than prior S&S flywheel assemblies). The improvements eliminate weak points, produce less vibration and reduced piston and rod-side thrusting, thereby addressing each of the contributing factors in the failure of my stock flywheel assembly.
The installation instructions list special tools that include a Timken bearing install tool, feeler gauge, dial indicator, torque wrench and, most important of all, the Harley-Davidson service manual. It also strongly suggests that, unless you have the tools and knowledge to perform the installation, you should have a qualified shop do it, which is exactly why I chose Black Hills Custom Parts. Ken has tended to my Harleys for nearly 14 years (including rebuilds and upgrades), and he has years of experience installing, tuning and maintaining S&S products.
Note that the steps described below are basically a summary of the installation. Complete step-by-step instructions are found in the S&S installation instructions and the Harley-Davidson service manual.
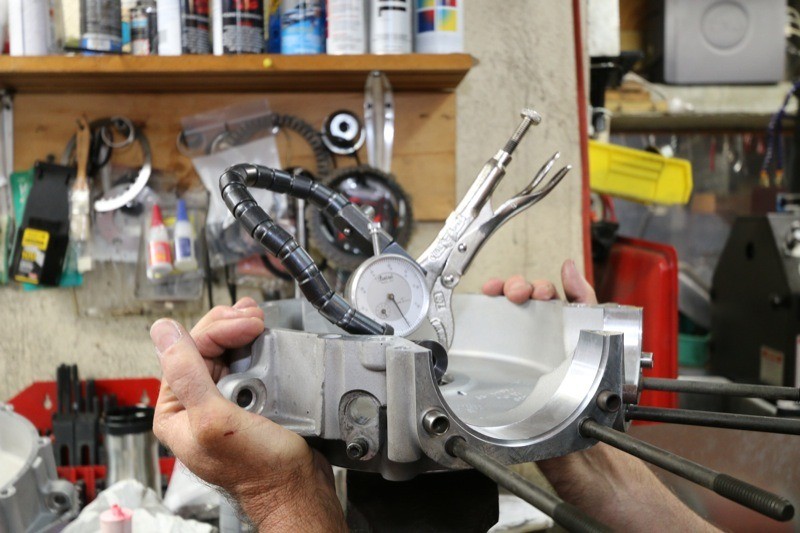
Although the flywheel assembly is a bolt-in, there were some changes from stock, such as the 4-3/8″ stroke and the 7.667″ rod length. Just to be absolutely certain, Ken checked the end play on the crankshaft and the two left-side bearings to make sure everything achieved a proper fit in the left side of the crankcase. In order to “feel” the clearance—optimal is 0.001″ to 0.002″—the measurement was done with no oil on the bearings.
Ken also replaced the cooling jets in the right side of the case. The cooling jets kick in above approximately 15 pounds of oil pressure and squirt oil on the underside of the pistons to cool them. The S&S Piston Cooling Jet Kit #31-2026 provides an additional 0.150″ of clearance for stroked motors (remember, my new 106″ is now a stroker). For a bottom-end rebuild, cooling jets should be replaced anyway because they could have debris in them, or the check valve could be stuck or plugged.
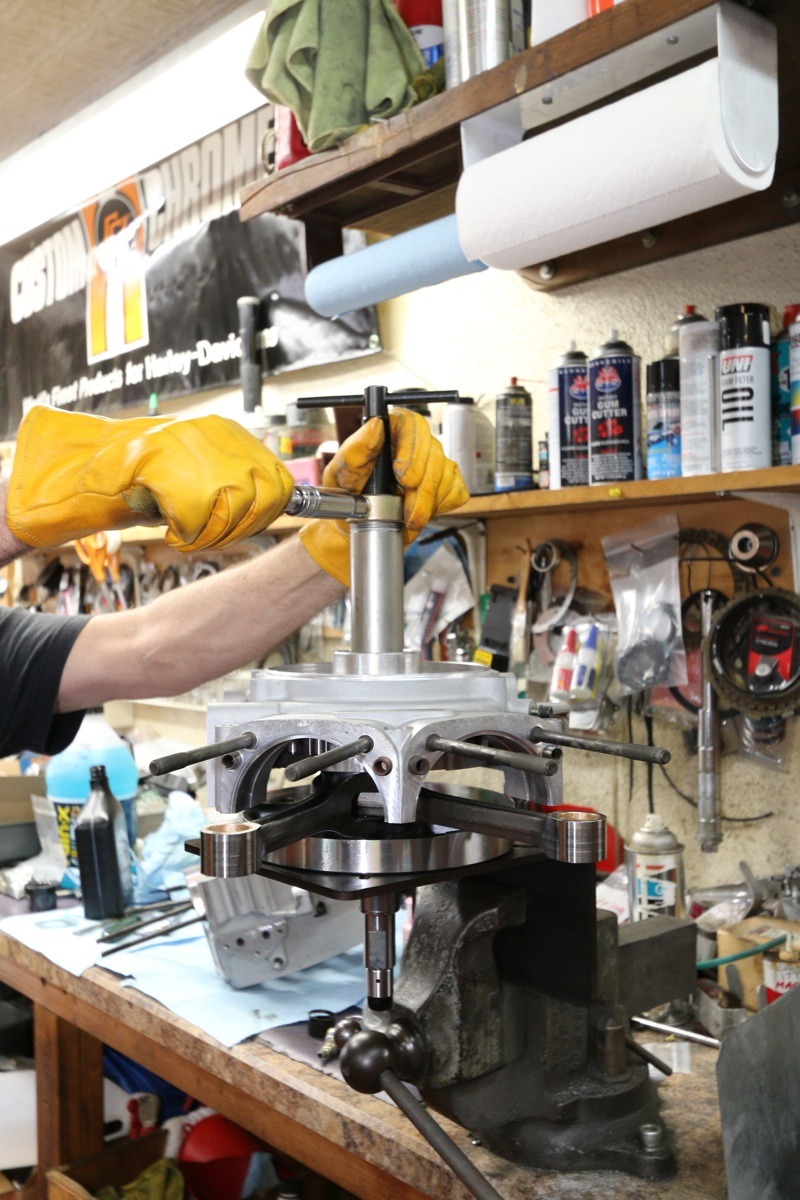
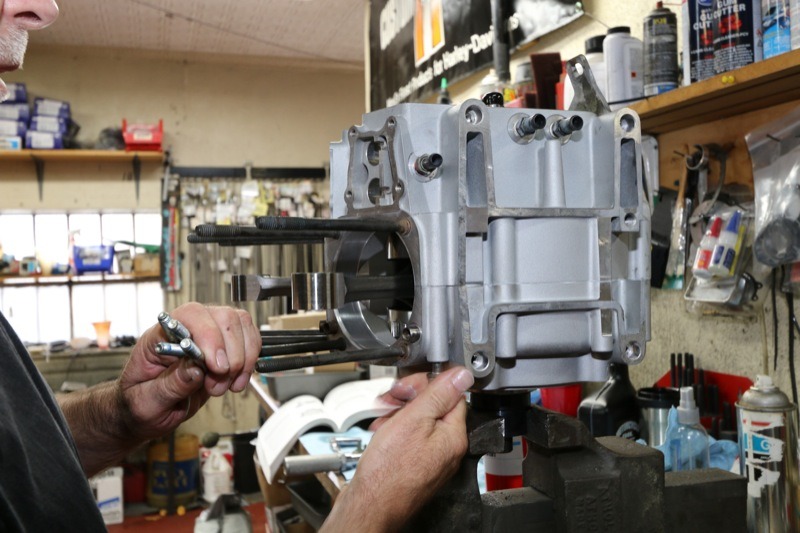
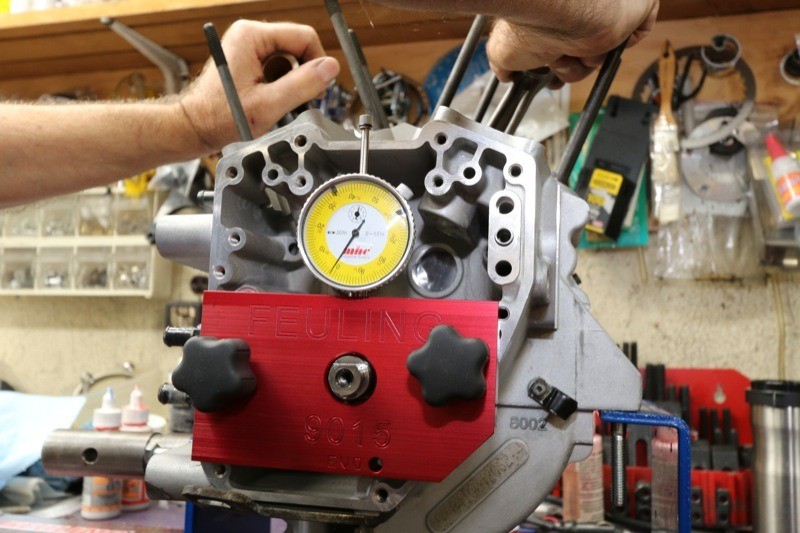
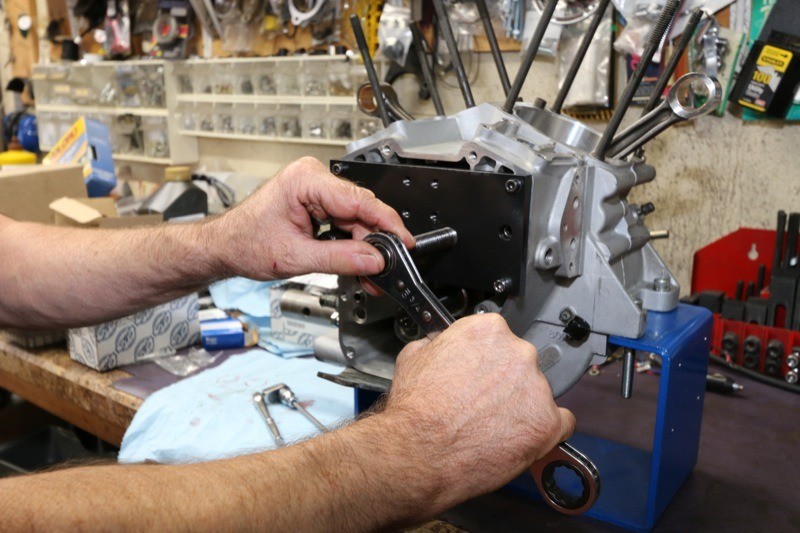
After pressing on the inner Timken bearing, with the flywheel assembly secured in a JIMS fixture, Ken slipped the left case over the flywheel sprocket shaft to check the end play of the crankshaft. Ken installed a new main bearing spacer, S&S Spacer 0.1075″–0.1085″ (#SS31-4075) which was one size thicker than stock. He lubricated the new left-side outer Timken bearing (H-D #24623), pressed it onto the sprocket shaft and tested the clearance again. Then he lubricated the roller bearing in the right case, and using the JIMS Crankshaft Guide Tool to align the right case roller bearing so it would fit over the crankshaft race more easily, he bolted and torqued both case halves together. Then, Ken used solvent to remove the leftover silicone sealer and get the mating surfaces of the crankcases surgically clean. After bolting the cases together, he placed the bottom end in an engine stand and, using the Feuling Crankshaft Runoff Tool, checked the crankshaft runout, which was about 0.001”.
Next it was time to install the S&S 551GE Easy Start Gear Drive Camshaft Set with Inner Gears.
Although the cams that were in my Dyna weren’t damaged, they were not intended for a 106″ motor, whereas the 551 grind is perfect for that engine size. Since the stock valve springs in pre–2005 engines can only handle 0.510″ lift cams we will be installing S&S high lift springs. Plus, I didn’t want to have to use external compression releases, and the S&S Easy Start cams will allow the engine to easily turn over with a stock starter and battery. The 551 is also designed to improve low-end and midrange torque, and is strongest from idle to 4000 rpm, which pretty much covers any rpm range I ride in.
Ken used the JIMS Inner Cam Bearing Installation Tool to install the new inner cam bearings (the bearings weren’t included with the S&S kit and can be ordered from Harley-Davidson or one of the aftermarket parts distributors). The new cams were intended to just bolt in, and sure enough, they fit perfectly.
My old cam plate was scored where debris was dragged across the surface. To save money, we used a near-new takeoff cam plate that was in good shape. It was the same situation with the oil pump. The inside of the pump body, as well as the gerotor, were scored and we found a near-new takeoff oil pump to use. If we didn’t have such easy access to these parts (e.g., Ken’s storage room), H-D offers several replacement kits as well as individual parts.
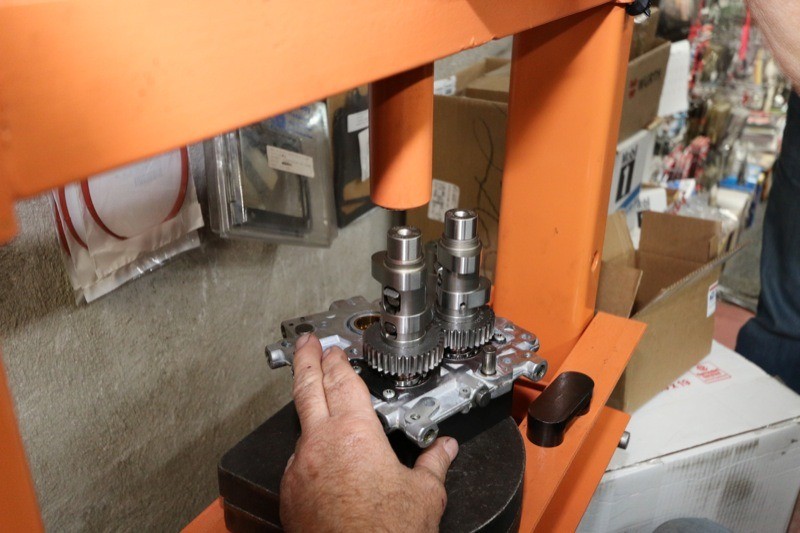
The outer cam bearings should be replaced any time the cams are pressed out, so new bearings from one of the aftermarket parts distributors were used (they are available from H-D as well). Ken likes to start the outer bearings into the cam plate by lightly tapping the outer races into the beginning of the bore by hand so they are perfectly aligned before completing the install in the press with the JIMS Cam Bearing Installation Tools. Ken reused the old bearing retainer, cleaned the old Loctite off of the retainer screws, applied a new film of blue Loctite to them and tightened the screws.
Ken installed the cams and the cam plate, and then dropped in the tappets. S&S had recommended their new Premium High Performance Tappets (#330-0175) to complement the new 551 cams and stronger valve springs. They are machined to operate on less oil pressure as well as high oil temperature, providing quick pump up and lower leakdown rates, quiet operation and stability at high rpms. The tappets are available with or without the S&S HL2T limited travel kit installed. The HL2T kit is intended to improve starting if your engine does not have the S&S Easy Start Cams installed, so I did not need that feature.
In keeping with Ken’s philosophy of replacing old parts with new as a preventative measure (it’s a lot easier to replace components when the motor is already disassembled), he installed a new oil pressure switch and a new stator. Watch for the next issue of THUNDER PRESS when the top end installation begins.
S&S Three-Piece Flywheel Assembly for 1999–’06 Big Twin Models #320-0361: $1,249.95
S&S 551GE Easy Start Gear Drive Camshaft Set with Inner Gears for 1999–’06 Big Twin Models #106-5441: $559.95
S&S Premium High Performance Tappets #330-0175: $269.95
S&S Cycle
sscycle.com
**CLICK HERE FOR PART ONE OF THE FXD ENGINE REBUILD WITH S&S CYCLE


